Creating a Polygon starts with drawing the shape first and then saving the work when done.
If you do not see this icon |
▪Start by opening the required Network Map
▪From the Network Map feature bar select the Draw Option icon (Pencil) and then Polygon from the drop down list - the mouse pointer now has a blue dot.

▪Place the mouse pointer on the starting location of the polygon on the map and left click
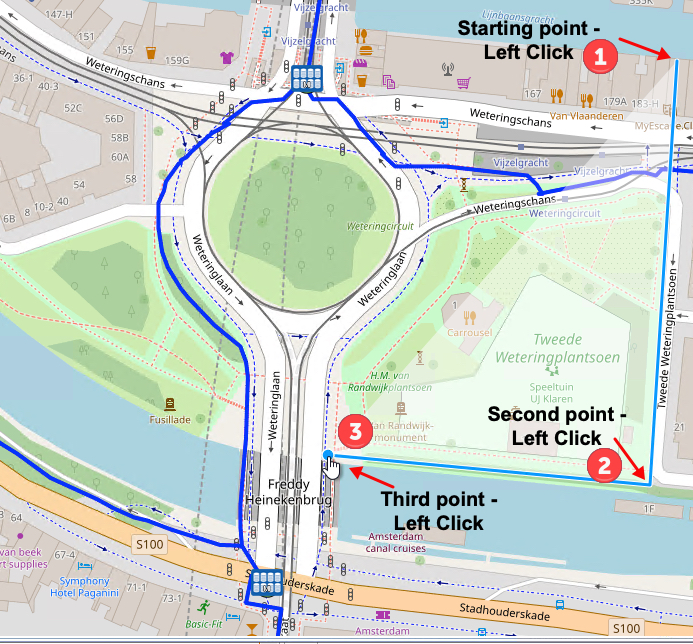
▪Select the second point on the map and left click, notice the blue line drawn in between click points
▪Repeat these steps until you double left click on the starting point, which will complete the shape and colour it in (red).

▪From the Network Map feature bar select the Save Drawbuffer option icon which opens up the New Polygon popup window

▪Fill in the the fields of information accordingly, especially the mandatory ones
▪Click on the Save icon to finish - lower left corner

Polygon Form Fields
Polygon Type |
User defined field to categorize polygons i.e., by a zone, project, technology, etc. |
Name |
User defined name for this Polygon |
Comments |
User defined comments for this Polygon |
Color |
The colour to represent the area of this Polygon - semi-transparent tones |
Site |
Relate a polygon to draw the contour of the building of the site |
Order |
Linking to an Order/TT instance - i.e., new fiber roll-out plan |
Map |
Select the map to associate this Polygon to. Although not a mandatory field, if it is not selected the polygon will not show in the required map |
Node |
Link a Polygon to a Node that has been planned only, where the exact location in area is yet unknown |
OloProduct |
The Olo Product that this Polygon refers to |
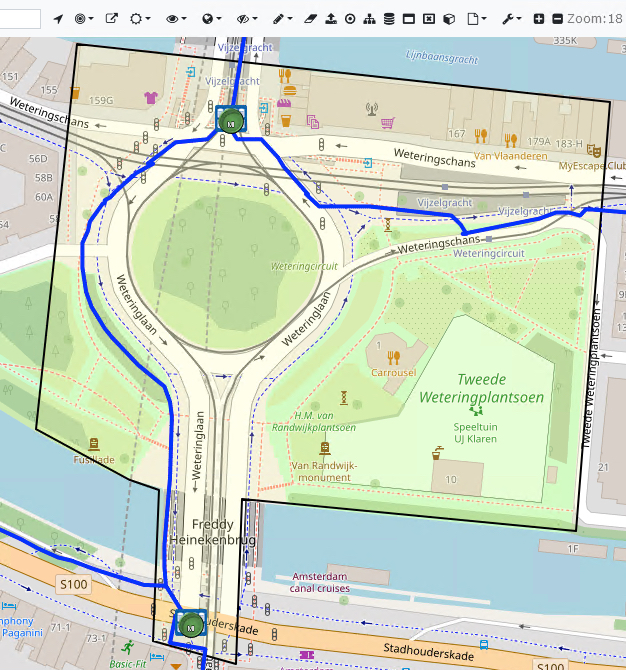
▪The end result should look like this: