In order to send out notices to Customers who might be affected of any Planned Work, it is necessary to first create an Email template that contains the framework of the Planned Work details.
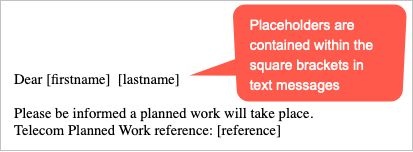
The Email template is a combination of free form text combined with Placeholder inserts that automatically insert Planned Work fields from the IMS database. In this way the same Email template can be used as often as necessary, without having to be concerned with the exact data from each Planned Work being inserted into the Email.
All table fields from IMS Contacts and Order/TT objects can now be used within mail templates, including Planned Work notifications |
Open Email Setup
From the IMS Main Menu:

▪Click on the Planned Work option, this opens a dropdown list of further options
▪Click on the Email Setup option
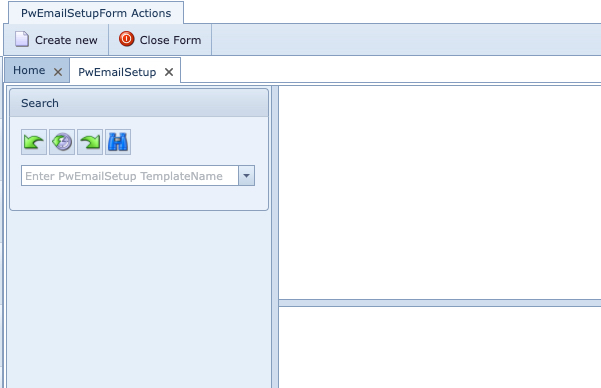
This opens up a blank Email Setup form.
Search Email Setup
Searching for existing Email Setup instances can be through the dropdown menu list in the Search area of the Email Setup form.

Email Setup Options and Examples
The following are some options to consider when setting up an email notification for Planned Works.
IMS provides a list of database field placeholder elements to include in the creating of an informational email for customers and contacts. These can be accessed by:
▪Clicking on the Insert Placeholder icon as shown in the screenshot below
▪Selecting the required placeholder item from the popup window and clicking the OK button
These placeholders will appear in the email body wherever the mouse cursor is placed.
Both in the Body and Down/Hiccup tabs of the Email Setup feature, there are also text related enhancement features similar to commercially available document and word processors. These can be used to create emphasis and design preferences to each email body i.e., in the screenshot below, the placeholder called Reference has been emboldened and had its color changed.

Once the email has been setup it can then be used in the process of informing customers by:
▪Selecting the Planned Work option from the IMS Main Menu
▪Then select Inform Customers from the drop down list of further options
▪Search for and open the required Planned Work instance
▪Search for and select the required Email Template name
▪From the InformCustomers Actions button bar, select Inform all customers option
Some additional options are:
[contact|name|UPPERFIRST] - this will convert the first character to upper case and the rest to lowercase
[contact|name|TOLOWER] - this will convert all characters to lower case
[contact|name|TOUPPER] - this will convert all characters to upper case
the above are also applicable for [plannedworkmain]
This will complete the task of informing customers/contacts of the upcoming Planned Work.
